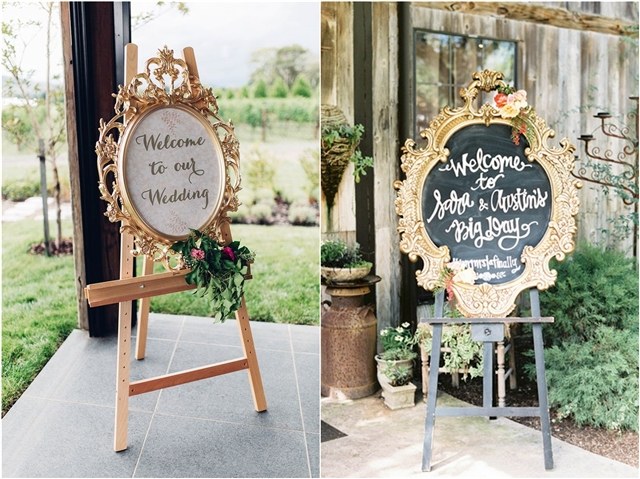

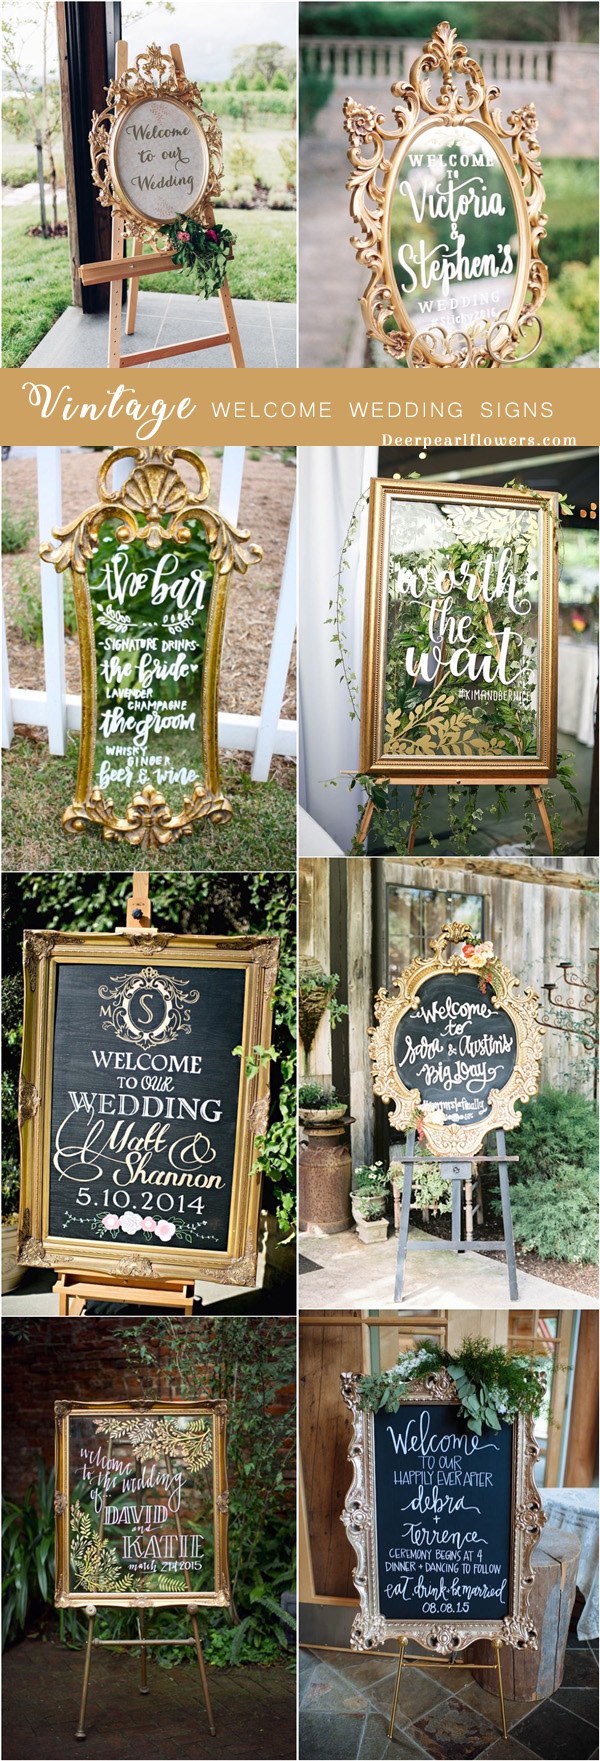
One of the most exciting parts of wedding planning is creating your own special sign to greet guests at the wedding entrance. Whether you’re hosting an outdoor or indoor wedding, there are so many creative ways to make your entrance memorable. Here are some ideas we’ve found on Pinterest that we think will help you create a beautiful and personalized vintage welcome signs:
Greenery and floral
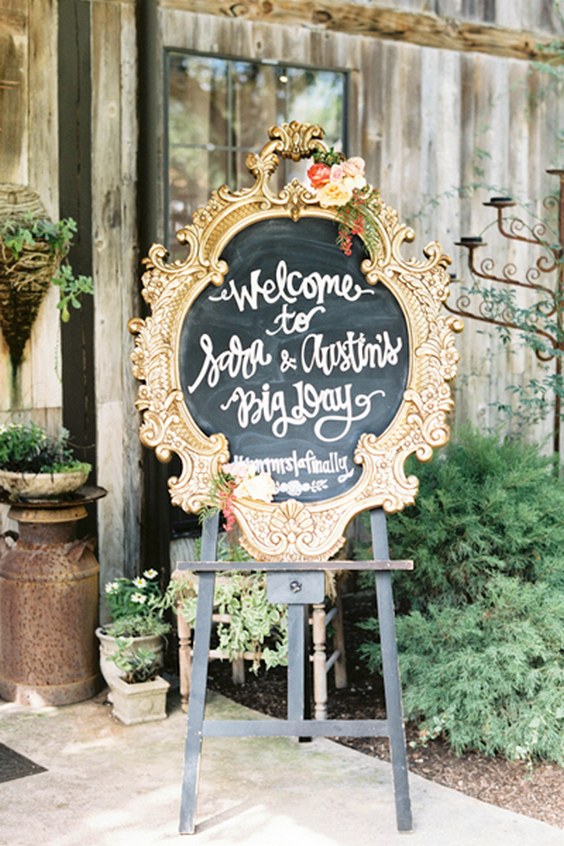
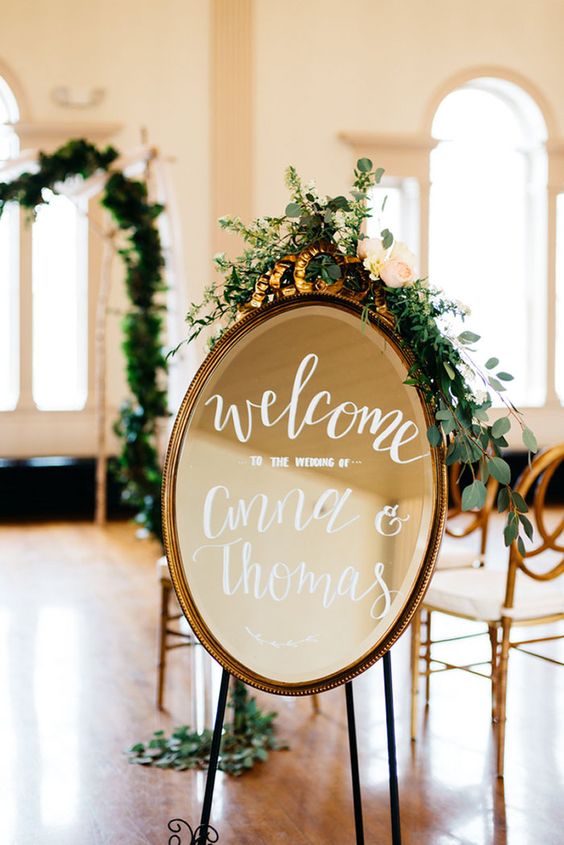
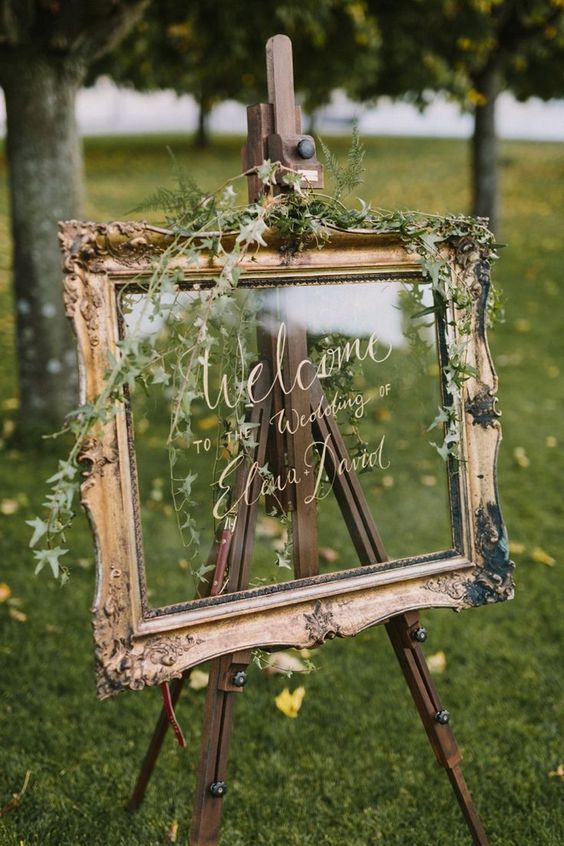
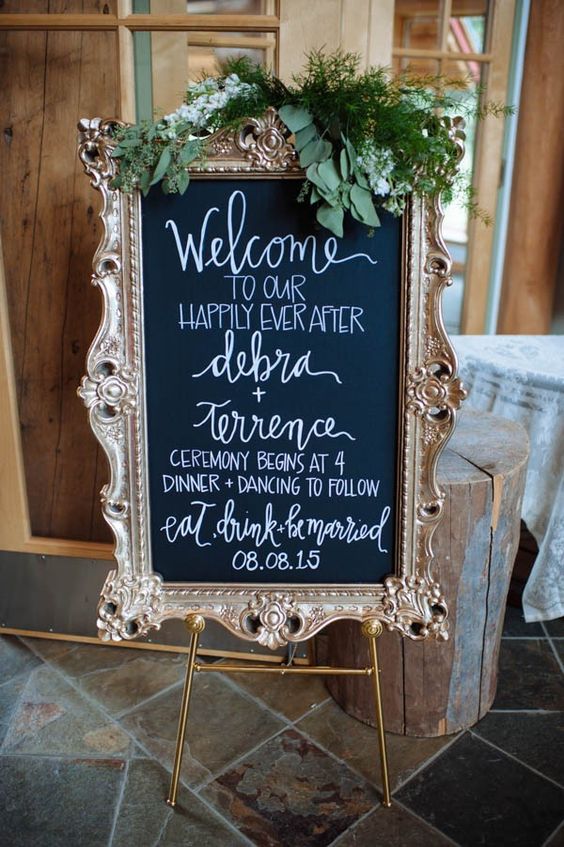
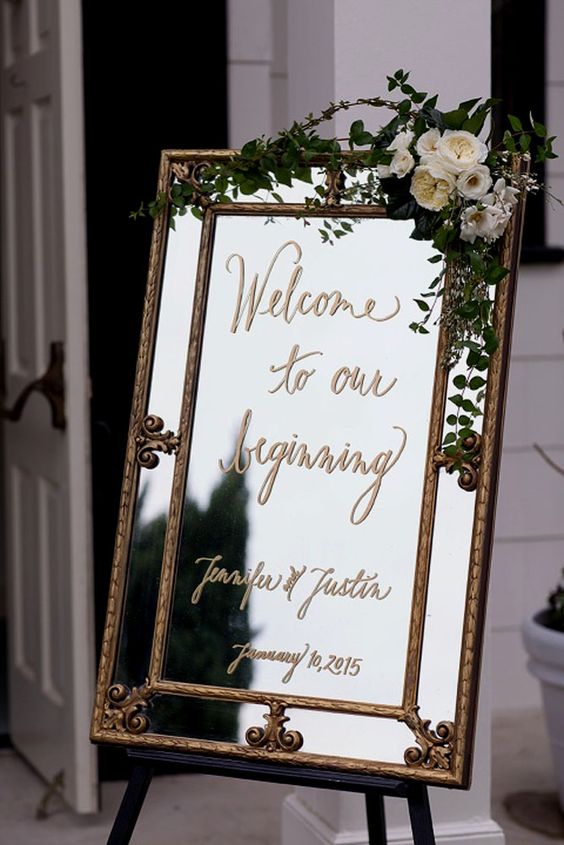
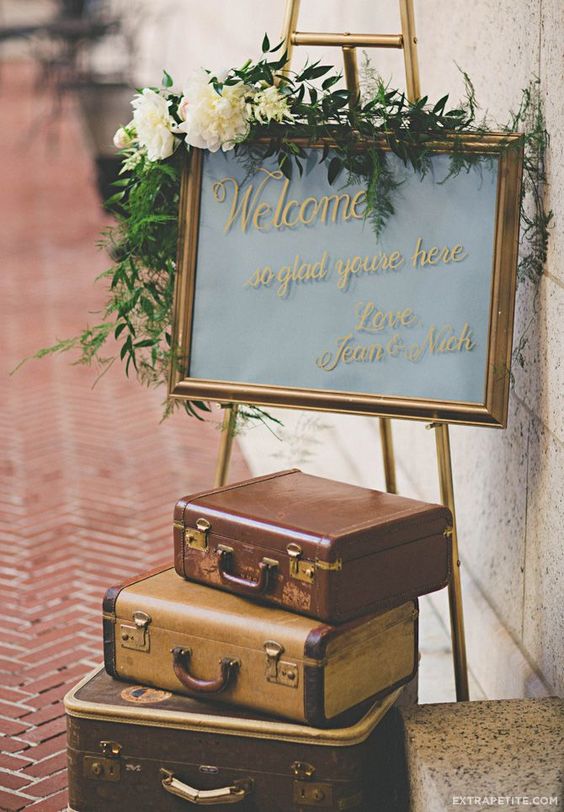
Greenery and floral arrangements are a no-brainer for welcoming wedding signs that scream ‘rustic chic’. Start with a wooden frame and lettering, then add your greenery of choice and some flowers to complete the look. It doesn’t get much easier than that!
Typography
This one’s pretty self-explanatory. Your guests need to be able to read your signs, so make sure you choose a font that is easy on the eyes (and easy for you to cut out of vinyl!). Just remember: don’t go too small—you want people who are driving by at 20 miles per hour to be able to see it clearly.
- Use a readable font that fits within the theme of your wedding. For example, if you plan on having an outdoor farm wedding with lots of rustic touches, then maybe stick with a cursive script like Brush Script MT in black or white and use it sparingly throughout your signage; if not, try something simpler like Arial or Helvetica Neue Black for maximum visibility from afar.
- Avoid using all capital letters unless really necessary because they could be hard on the eyes when viewed from far away (for example, if someone is driving past). The same goes for light colors; many people have trouble reading them at night and even during daytime hours when there’s harsh sunlight reflecting off whatever surface they are printed onto (iPad cases come immediately mind as one such example).
Wood board
If you’re looking for a simple, rustic sign that’s easy to make and can be used in a variety of settings, this tutorial is for you.
Wooden signs are great because they can be painted or stained to fit any style or theme. You can hang them on walls or doors, which makes them versatile enough to use at the wedding venue itself or at home after the wedding is over. Plus, they look great hanging from trees!
Here’s how I made mine:
The first step was measuring and cutting the wood pieces with my miter saw (you could also use a router). Then I sanded all of those edges before painting them with acrylic paint (you could also use chalkboard paint if you want an even more customizable sign).
Rustic elegance
Rustic elegance is the perfect balance of rustic and elegant. With this theme, you’ll want to incorporate elements of both worlds. Rustic elements include wood, twine, burlap and natural elements like flowers or greenery. Elegant details include lace, pearls and other fine details that don’t scream country but aren’t too fancy either.
Lettered on mirror
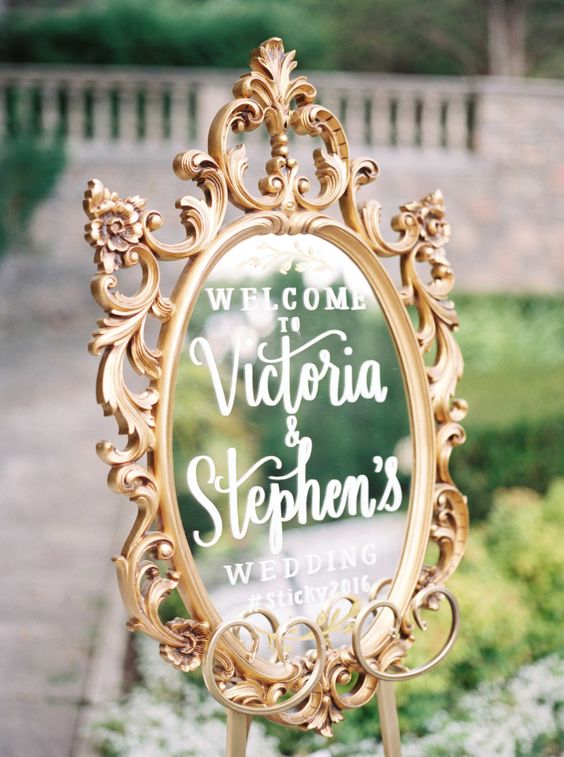
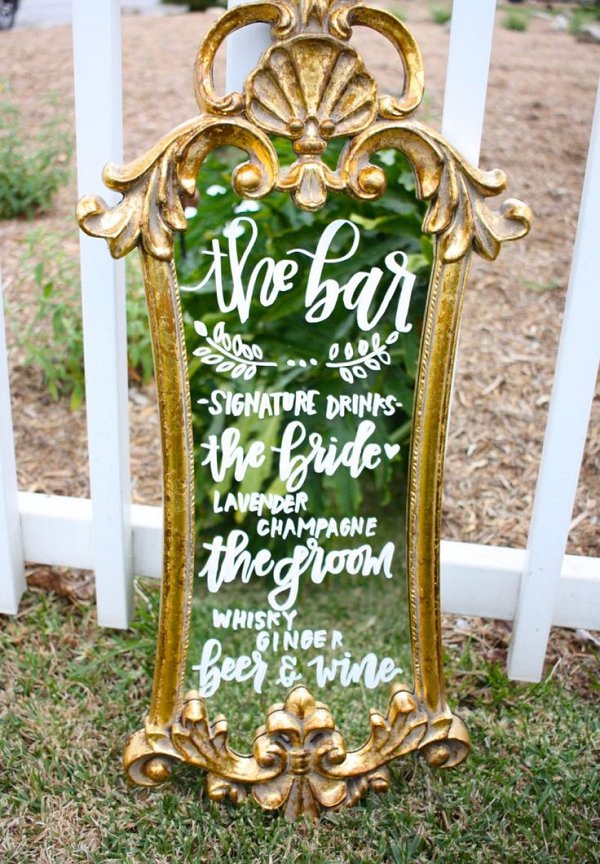
To make this sign, you’ll need a mirror that’s large enough to write on. You can use any old glass mirror, or you can create your own using a piece of glass and some chalkboard paint. If you’re using an old piece of glass, first clean it thoroughly with soap and water to remove any dust or dirt particles. Next, apply the chalkboard paint to one side of the piece—I recommend doing this with an artist’s brush so as not to miss any spots—and let it dry overnight before writing on it!
To guide your writing when creating a welcome sign in which each letter is written individually (as opposed to being printed), I recommend using stencils—either ones that you’ve cut out yourself from cardboard or plastic sheets (which may be purchased at most craft stores), or stencils that come pre-cut from companies like The Graphics Fairy. For example:
Frame sign
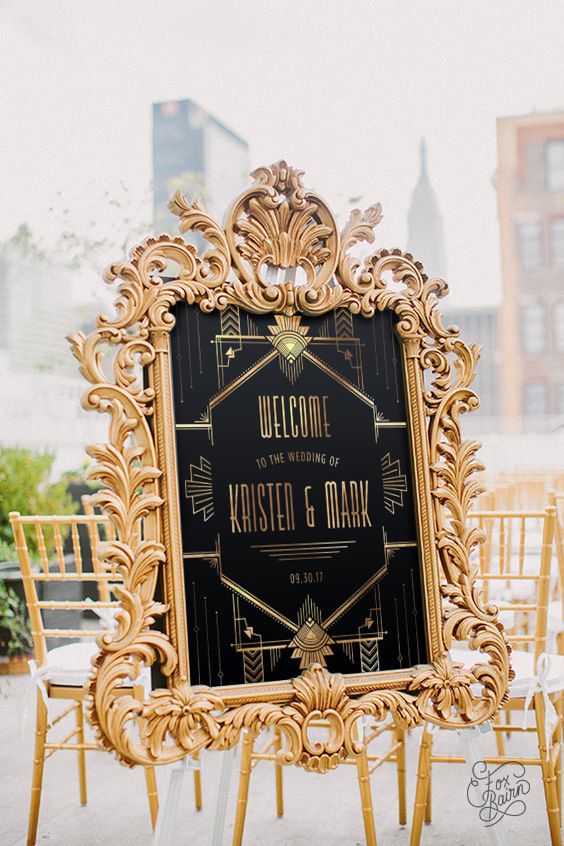
A frame sign can be made of wood, metal or glass. Since it’s a larger surface, you can paint the front of the frame in an elegant fashion to match your wedding theme. You could stain it or distress it as well! It’s also a great way to make a statement by personalizing with names and wedding date.
Framed wood board
- This is a great option for those who want to go with a more rustic theme. A wood board can be painted or stained in any color you like and make your wedding sign stand out. If you want something simple, paint it with chalkboard paint so guests can write their names on it or leave sweet messages for the couple at their wedding shower!
- Another option is if you have some old barn wood lying around that no longer serves a purpose, why not repurpose it into this beautiful piece? You don’t even need special tools to do this—just sand down the edges until they’re smooth enough to handle easily (or use clamps if necessary), then apply any kind of stain as desired prior to painting/staining/sealing it.*
Family names and wedding year
When it comes to incorporating your family and wedding year, you have several options. You could choose a vintage map that includes all of your loved ones’ names. Or, if the two of you are sharing in a special place, like New York City or Paris, why not use a vintage picture of that very place? If neither of those ideas are right for you — maybe an actual wedding sign would be more fitting!
Watercolor artistry
Watercolor artistry is a great way to add color to your wedding. You can use watercolor artistry to create signs, invitations and decorations. Watercolor artistry can be done by you or by a professional.
Hand-lettered frame sign
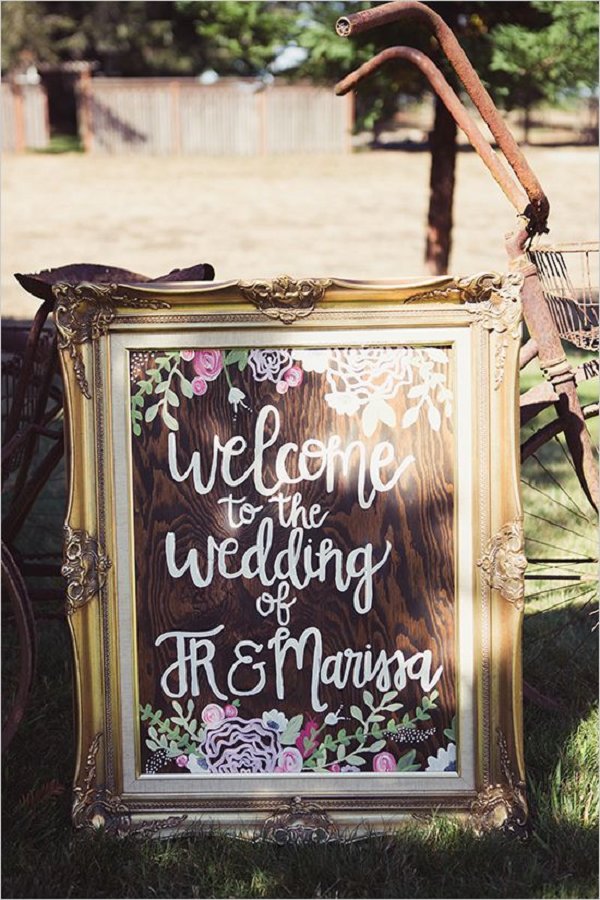
Using chalkboard paint, a stencil, lettering stamps, or even a brush and paint can help you create a sign that’s as unique as your wedding. The most important thing is to have fun with it!
Wallpaper backdrop with lettering in front
Use wallpaper as a backdrop for your wedding sign. It can be tricky to get the lettering perfect, but we love this idea for those who don’t mind some imperfections. If you have a stencil or other DIY-friendly tool, try writing letters in front of the wallpaper (you’ll need an extra strong glue), or cutting out letters and painting them on top of the paper. You can also use your own handwriting or print words using a typewriter!
Wreath frame sign
If you love the idea of hanging a welcome sign, but aren’t a fan of the rustic or vintage look, this idea is for you! This sign uses a wreath to frame lettering. You can get creative with your lettering and use it to match your wedding theme. If the wedding has a vintage feel, try using old-fashioned fonts and maybe even some script! To make this sign, buy a wreath frame at Michaels or Hobby Lobby (or any other craft store) and attach scrapbook paper in the shape and color scheme that suits your wedding best. Then grab some chalkboard paint (or regular paint if it doesn’t need to be erasable) and write out “Welcome” on one side of the paper with some pretty letters that match your style – voila! You have yourself an adorable welcome sign!
Conclusion
These are just a few of the many ways to create your own vintage welcome wedding sign. You can use whatever style you like, and no one will care if it’s not perfect! It’s all about celebrating your love with the people who matter most. The best part is that these simple ideas will add some rustic charm to any wedding theme you choose.
Comments are closed.